Rust-Oleum Projects
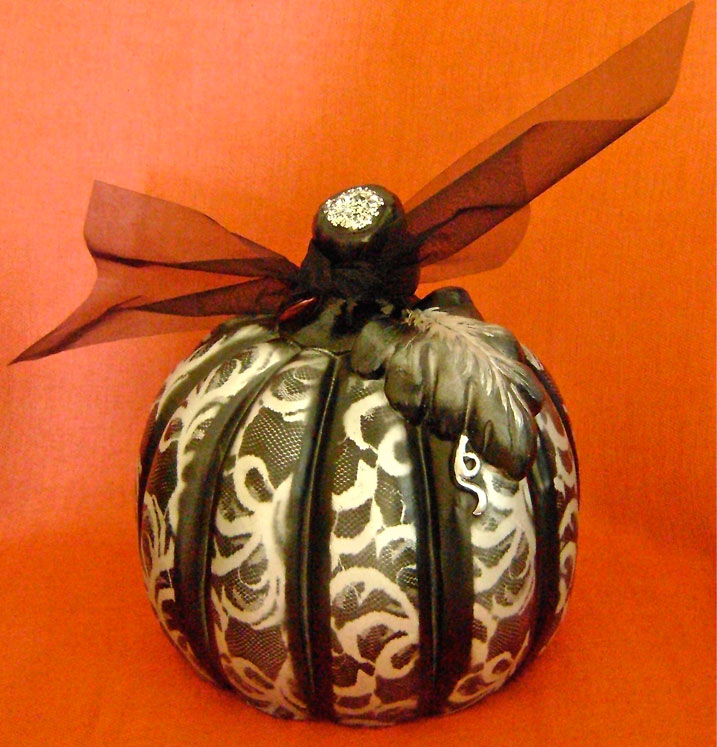
Paint the Perfect Pumpkin
Browse Projects
-
Tools & Supplies:
-
Artminds Plaster Pumpkin
-
Glue
-
Lace
-
Scotch Spray Mount Repositionable Adhesive
-
Sheer Black Ribbon
-
Silver Glitter
-
Tissue Paper
Instructions:
- Trace one of the 12 pumpkin sections to create a pattern on tissue paper. Set aside.
- On a protected surface, airbrush the pumpkin with silver paint.
- To paint the bottom, place the pumpkin upside down into a bowl. Cushion sharp edges of the bowl so as not to accidentally scrape the paint off the pumpkin.
- Following your pattern, cut out 12 pieces of lace making them ½” longer than the pattern. Spray the backsides of the cut pieces with adhesive.
- Press the 12 pieces onto the pumpkin. Secure the bottom edges on the underside of the pumpkin.
- Cut the lace to fit into the curves of the large leaf.
- Airbrush the entire pumpkin with light coats of black paint. Note: Allow paint to dry completely between steps.
- Use only a light dusting on the leaf so the silver shows through.
- When the paint has dried, peel away the lace to reveal the silver design.
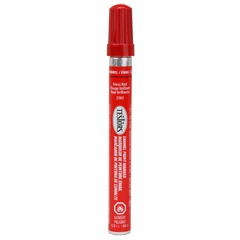
- Use the silver enamel paint marker to add accents to the leaf.
- Dot cement onto the center of the pumpkin stem and sprinkle with silver glitter.
- Tie black, sheer ribbon around the stem.
“Designed and Created for Testors by Domestic-Divaonline.com


