Rust-Oleum Projects
Just Call Him Mr. Shenanigans and Make This Airbrushed T-Shirt To Say It Loud and Proud
Browse Projects
-
Tools & Supplies:
-
Aztek Airbrush
-
Air Source (Propellant or Compressor)
-
Frisket Paper
-
Letter Stencils or Custom Stencils
-
T-Shirt
-
Scissors / Hobby Knife
-
Extra White Paper
-
Masking Tape
-
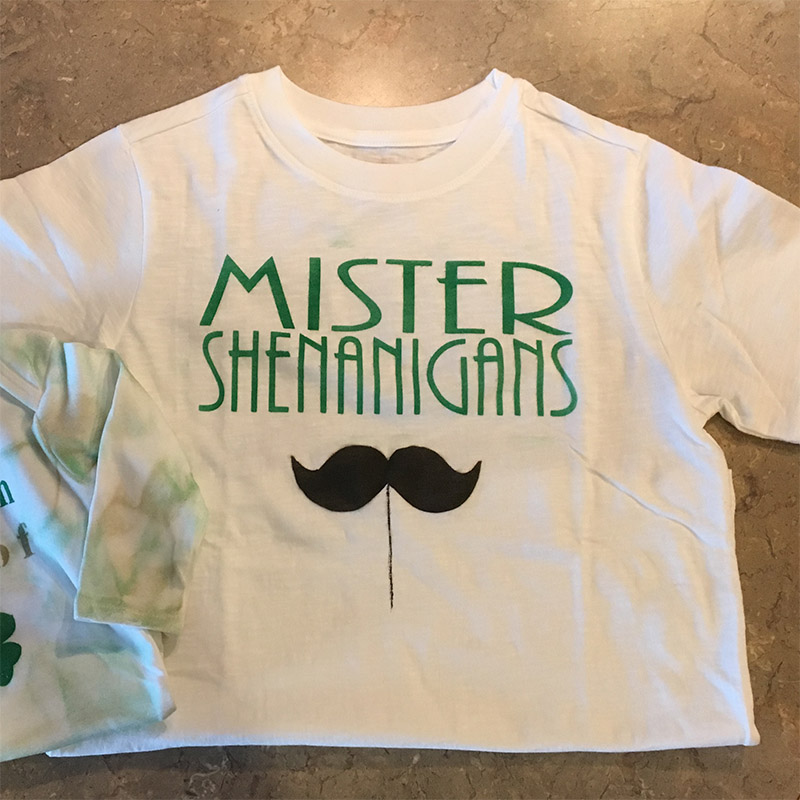
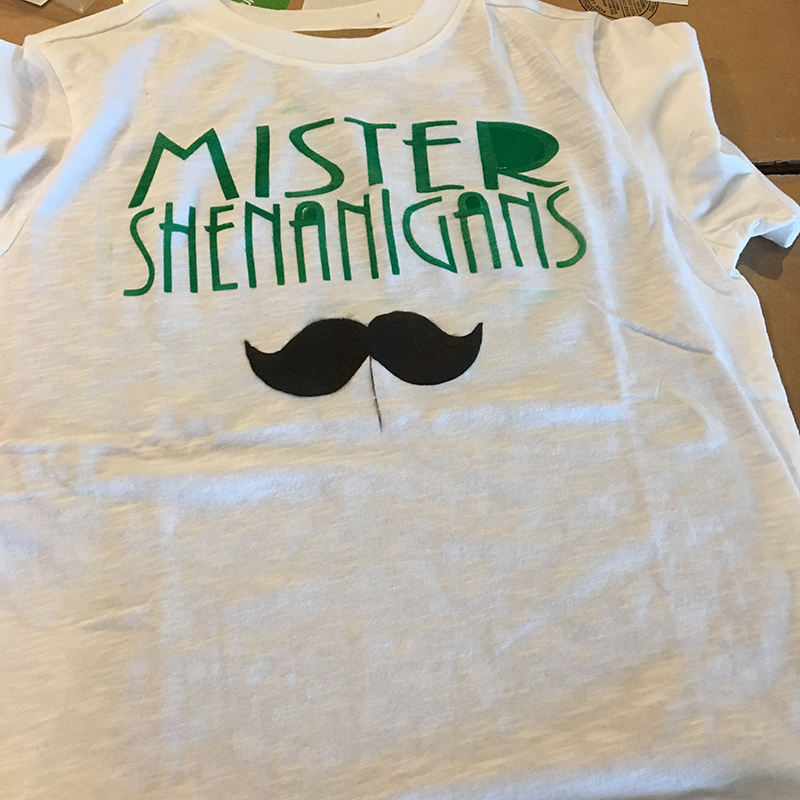
Using Aztek airbrushable paints, you can create this easy "Mr. Shenanigans" T-shirt design for the one guy always interested in fun mischief.
Step 1
Put a rigid piece of cardboard or sheet of paper inside of the T-shirt so paint doesn’t bleed through to the back.
Step 2
Layout the Letters to spell “Mr Shenanigans” or cut a stencil on a cutter such as a Cricut or Silhouette.
Step 3
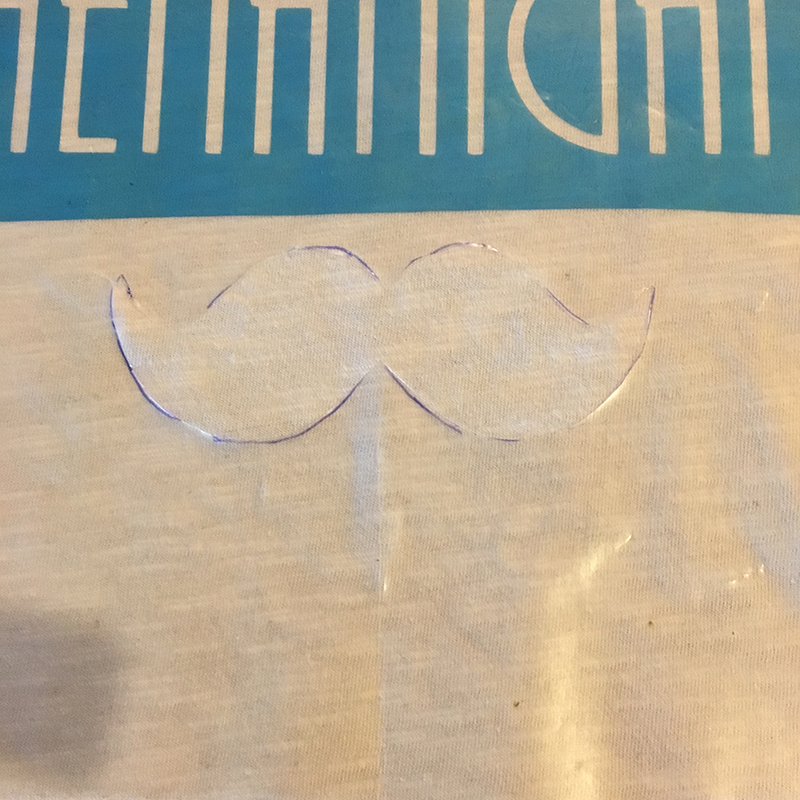
Print a moustache and trace onto frisket paper. Cut out the moustache.
Step 4
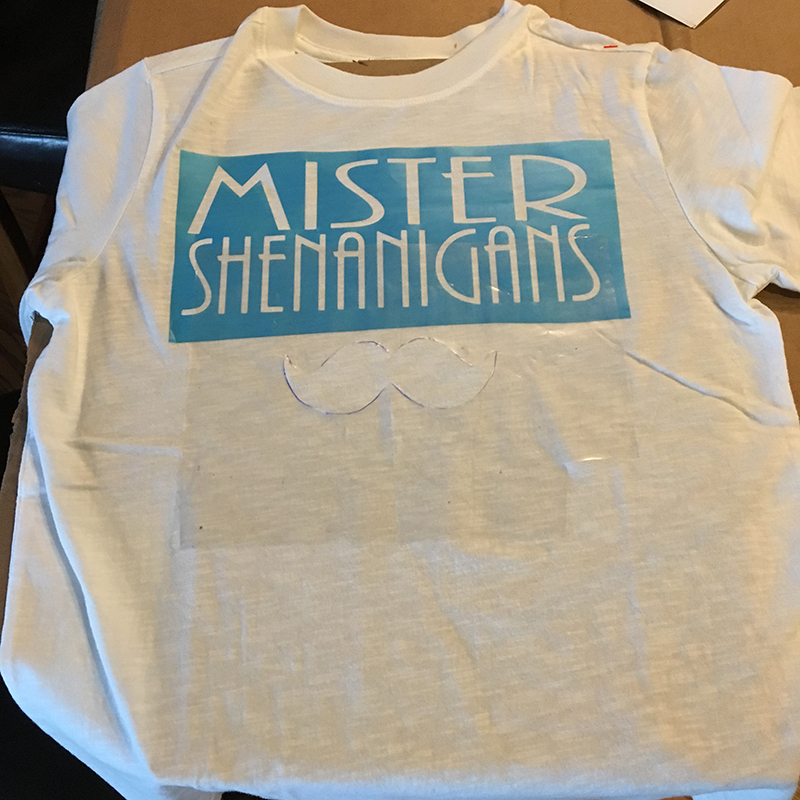
Lay the moustache under your lettering to be sure it all fits like you would like. Press the stencils firmly onto the shirt to ensure no overspray gets underneath.
Step 5
Set up your airbrush, air source, and paints by connecting your airbrush to your air source. Connect your dip tube to your clip cap, fill one ¼ oz jar half full with green paint and screw the clip cap onto the jar with your green paint. Connect your second clip cap (with dip tube inserted) to your black paint.
Step 6
Mask off the rest of your project so you do not get overspray onto your T-shirt. You can achieve this in many ways including blocking the shirt with white sheets of paper and using tape to hold the paper down. Be sure it is TIGHT or the spray can easily get under your stencil as well as your masking.
Step 7
Connect your jar/clip cap with the green paint to the airbrush and test spray away from the project to be sure it is spraying properly. Once you are comfortable, spray the lettering with the green paint.
Step 8
Reposition your mask and spray your moustache using the black paint. You can make a line underneath like a photo booth prop or keep it clean.
Step 9
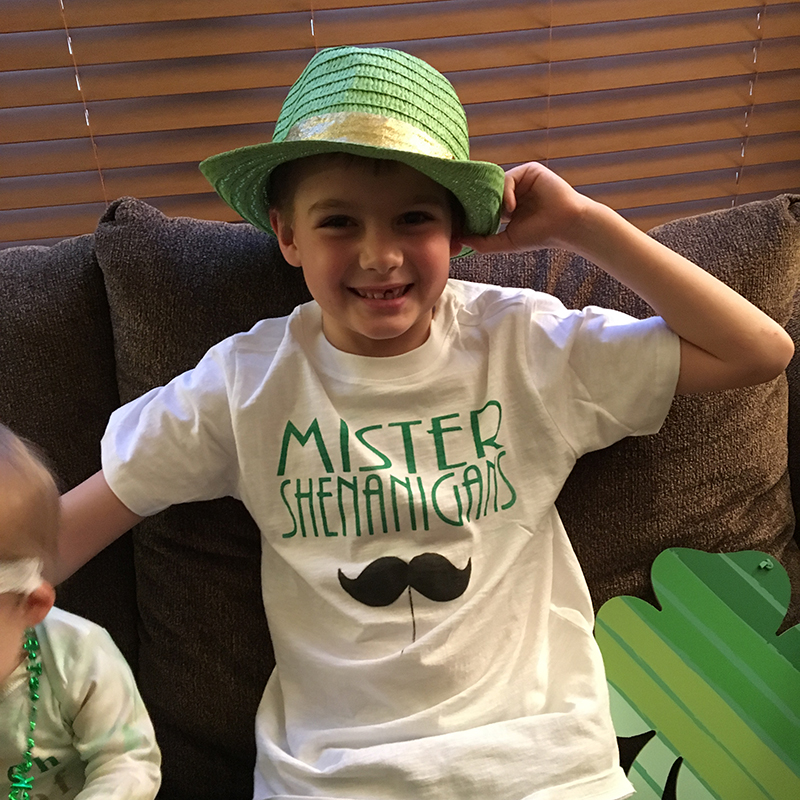
Find Mr. Shenanigans himself and make him strike a pose!

